


Why Build Your Own?
Building your own lithium battery is the "gold standard" for off-grid enthusiasts. It moves you from being a consumer to a creator.
- The Value Proposition: Compare a $1,000 off-the-shelf 280Ah battery to a DIY build costing roughly $500–$600.
- Customization: Choose high-quality cells (100Ah, 280Ah, or 304Ah) and specific BMS components that fit your space.
- Knowledge: You’ll understand your power system from the inside out, making field repairs possible.
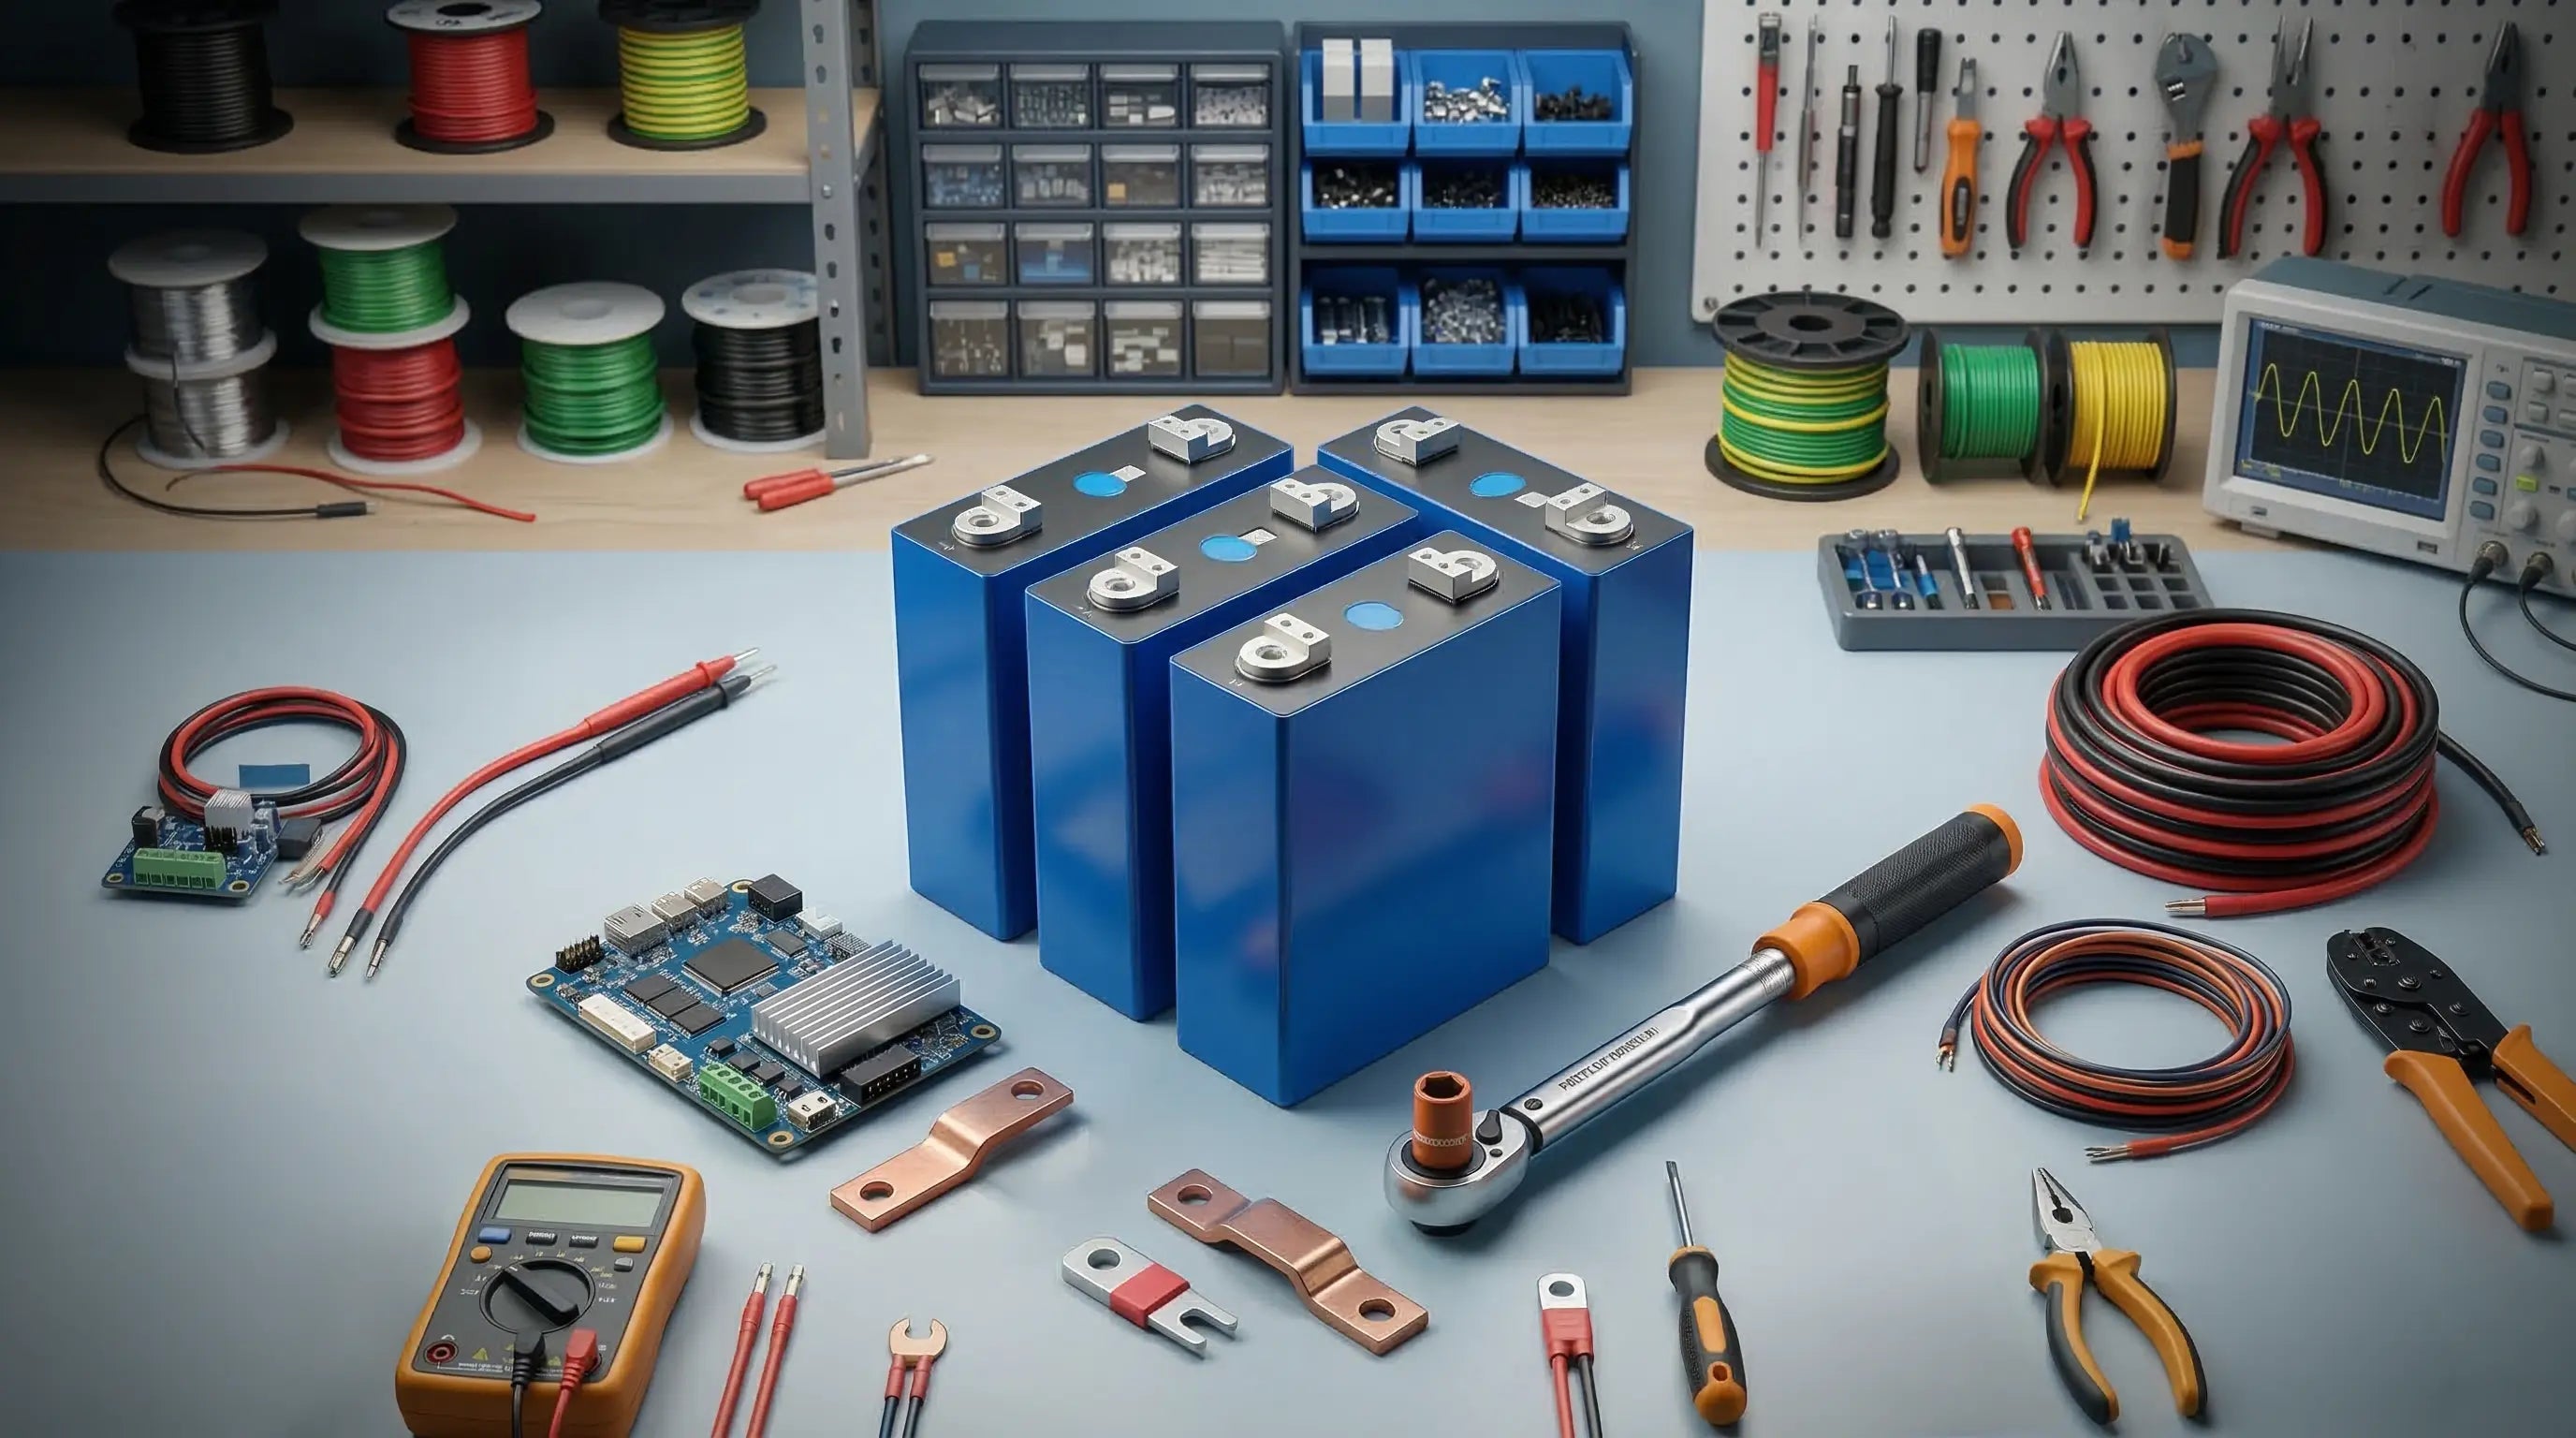
Essential Components Checklist
- The Cells: You need four 3.2V LiFePO4 cells to create a 12.8V nominal system.
- The BMS: The "brain" that prevents fire, overcharging, and over-discharging.
- Hardware: Solid copper busbars, insulated bolts, and a compression case.
- Wiring: Properly rated AWG (American Wire Gauge) cables for your specific current loads.
Always wear eye protection. Use insulated wrenches to prevent "The Big Spark." Never work on a metal surface; use wood or rubber to ensure there are no accidental paths for current.
Step 1: Top Balancing
This is the most critical step. Top balancing ensures all cells reach their peak voltage (3.65V) simultaneously.
The Process: Wire all cells in parallel and use a bench power supply to bring them to 3.65V. Skipping this leads to "runner" cells that trigger the BMS early, effectively "stealing" usable capacity from your pack.
Step 2: Physical Assembly & Compression
Arrange your cells in Series (Positive to Negative) to reach the 12.8V nominal threshold. LiFePO4 cells can "bloat" under heavy use; applying physical compression via a tight casing or straps can significantly extend their cycle life.
Step 3: Installing the BMS
Connect the balance leads starting from the main negative (B0). Ensure the temperature sensor is placed between the center cells for accurate readings. Remember: B- connects to the battery negative, and P- connects to your loads.
Step 4: Testing & Commissioning
Before putting the battery into service, perform a full capacity test. Discharge the pack at a steady rate and verify that the Amp-hours delivered match the cell rating. Set your low-voltage and high-voltage cutoffs within the BMS app for an extra layer of safety.
Conclusion & Maintenance
Check your busbar torque periodically. For long-term storage, keep the battery at roughly 50% capacity.